Dealing With Background Distractions Using Photoshop

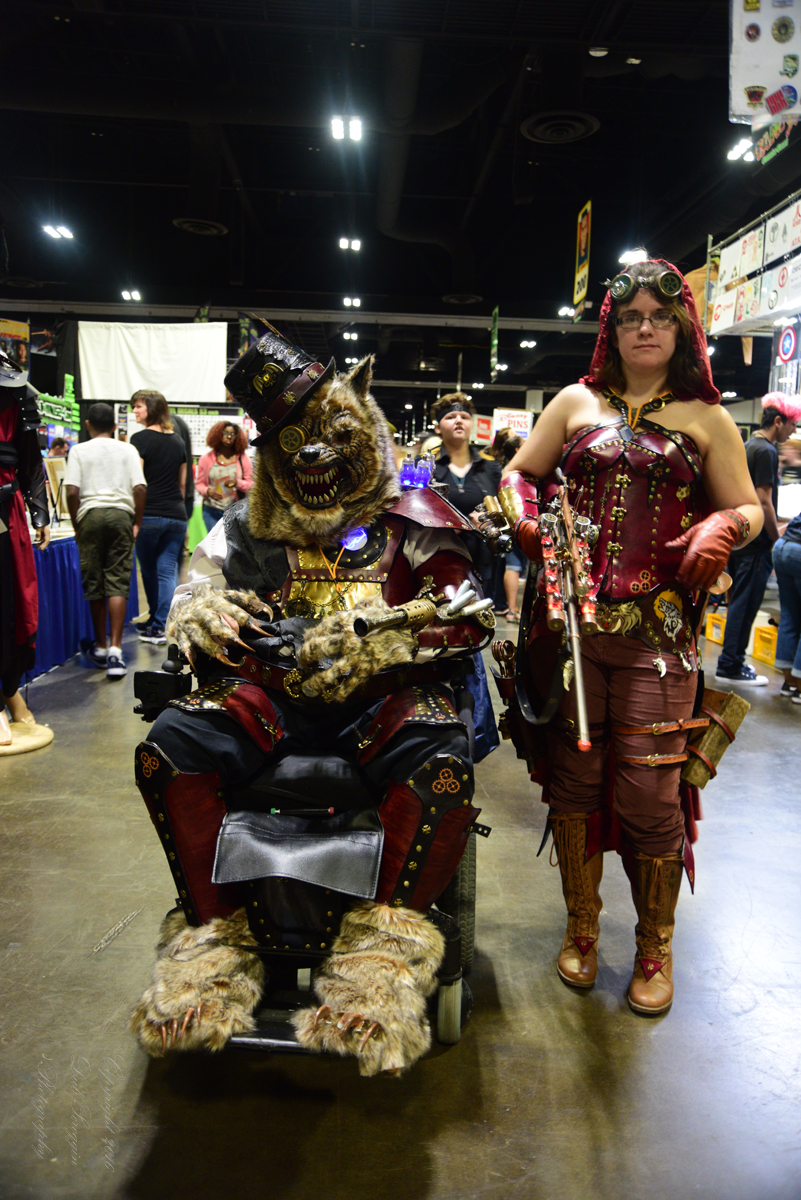
I had the privilege recently of attending Comic-Con in Tampa, Florida. I’m glad I brought along my camera because some of the costumes the other attendees wore were amazing in their depth and detail. The setting, however, was not conducive to good photography. There was a huge, teeming crowd of people, both the less bold normal folks and the magnificently costumed folks. Plus there was a myriad assortment of colorful displays and graphic artwork. As a result, it was difficult to isolate the subjects from the cluttered background.

I tried isolating them using depth-of-field by going with a large aperture, but there was still far too much distracting, colorful clutter. I tried slower exposures, so the moving people would be blurred, while the stationary subjects wouldn’t be, but the subjects weren’t all that stationary either. I think they were distracted by all the distractions. I tried isolating them using a flash, but there was nothing to bounce the light off of, because the ceiling was very dark and very high. This resulted in pretty harsh light.
I finally decided to just take the shots I could get and worry about the backgrounds during post-processing in Photoshop. After doing what I could to optimize the light in Adobe Camera Raw, I pulled the images into Photoshop and began playing with them. I liked some of the things I was able to do using various tools under Filter>Blur, and then employing the History brush to selectively erase the effects, so I concentrated my efforts there. It was surprisingly easy.
In the example above, I used a combination of the Gaussian Blur filter and then the Radial Blur (spin).


The result looked like this:

Obviously, the background is no longer an issue, but the foreground is pretty well obliterated, too. I then used the history brush. This entailed going to the History window, clicking the box to the left of the step before the first blur action,

then going to the image and pressing the “Y” key to bring up the brush. I then used the brush to erase the blur effects from the entire figure. This took awhile, but it was fun to see the figure slowly emerge from the blur.

The same process was used in the images below, the only difference being in the blur tools used.


In this one I used just the Gaussian Blur, but applied it twice

In this one I used the Motion Blur

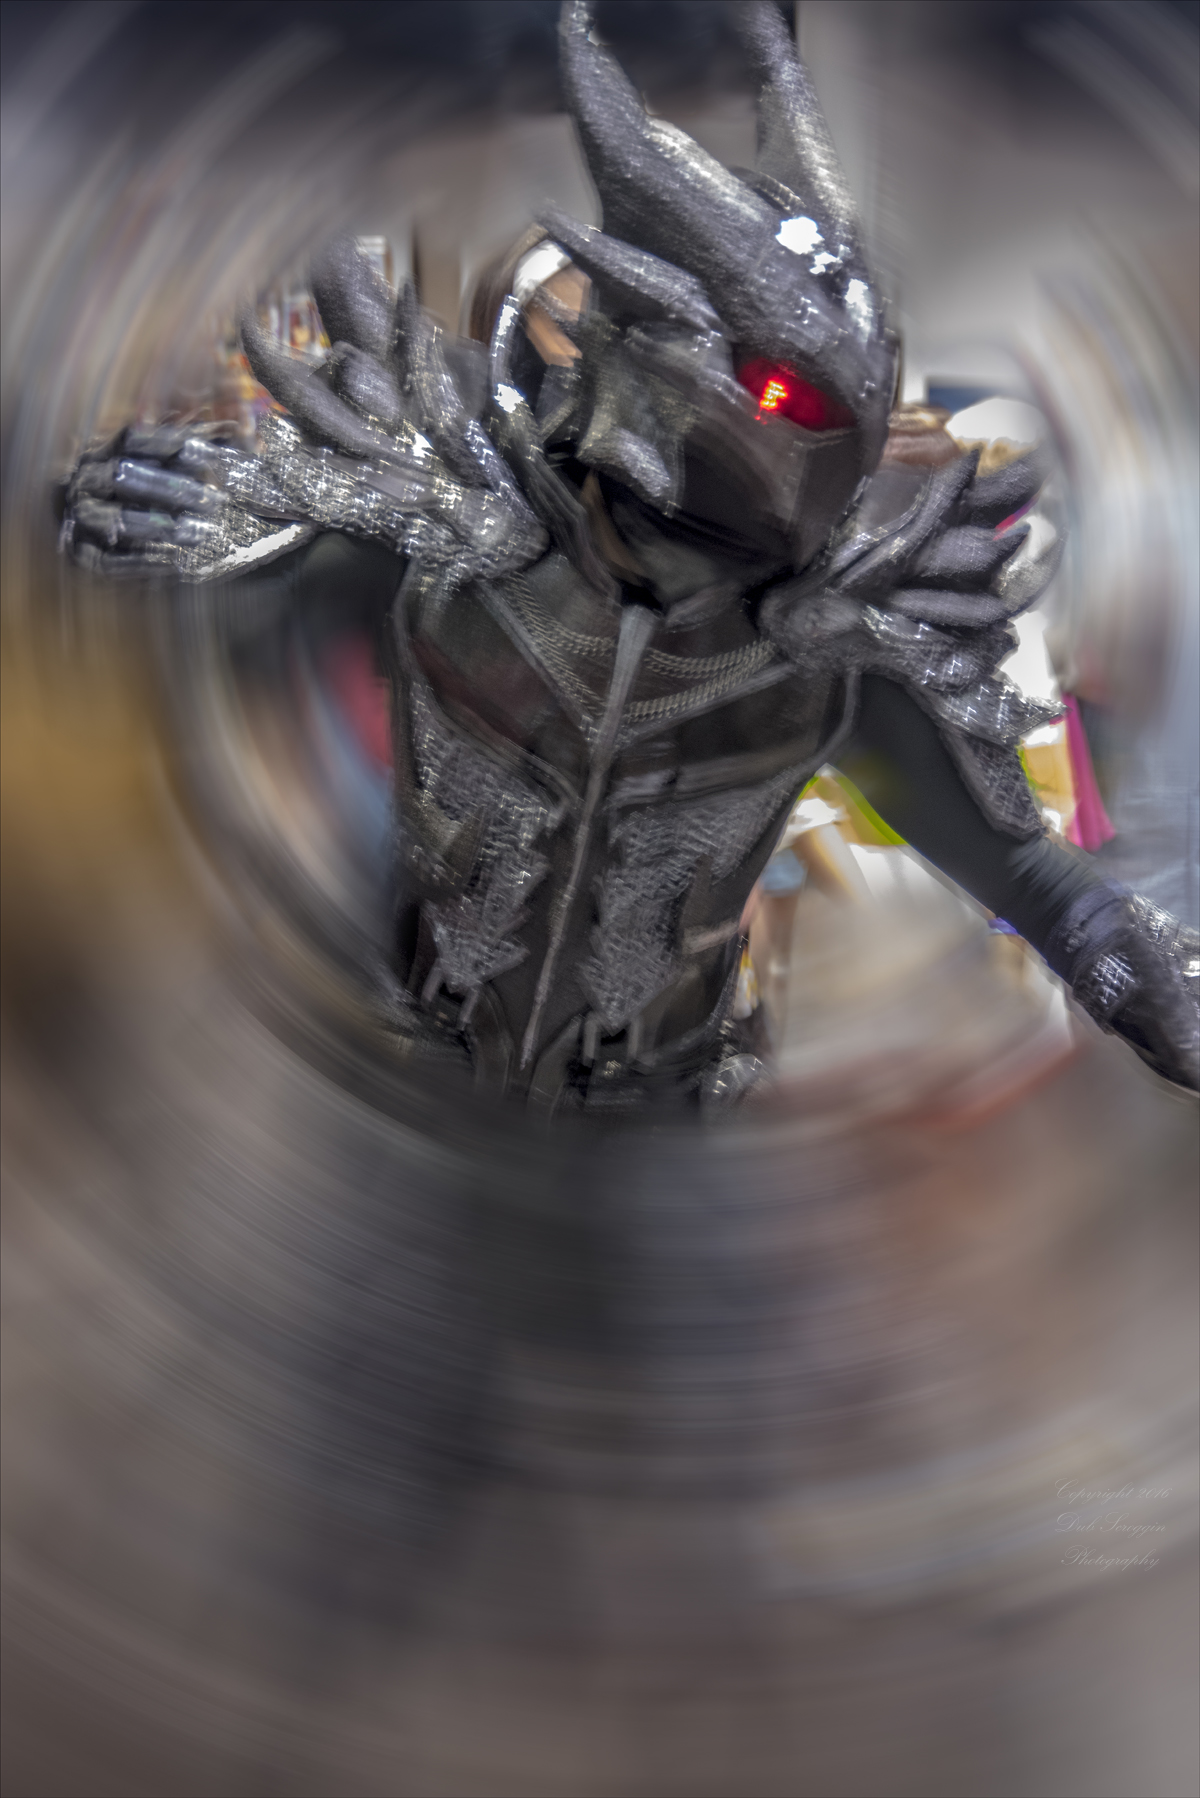
I overexposed this to try to blow out some of the background, but I didn’t realize at the time that the shot was also blurred by the subject’s movement. I liked the shot, though, and just decided I needed to use his motion. I used a combination of Gaussian Blur and Radial Blur to create a swirl and then erased a circle in it to make it look like he was peeking out of another dimension, or maybe tearing his way through a little tornado.”


I loved this butterfly’s smile and decided that I wanted to not only get rid of the background distractions, but to highlight that beautiful smile. I used a combination of the Gaussian Blur and the Radial Blur (zoom), and then erased just the effects on her face.